Mastering the Pinwheel Project: A Workflow Guide for SVG, DXF, and PDF Cut Files
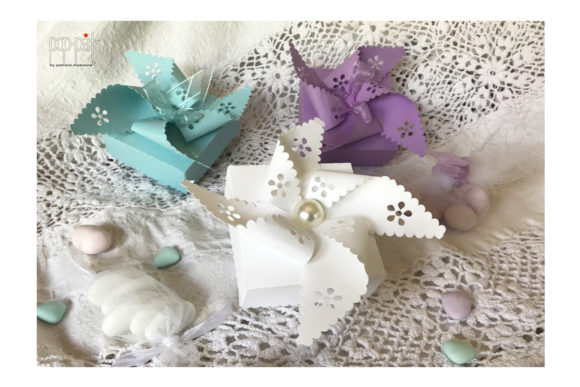
The humble pinwheel is more than just a nostalgic symbol of childhood summers; in the world of digital crafting, it represents a fundamental exercise in precision, layering, and file management. Whether you are a small business owner creating party favors, an educator designing classroom decorations, or a hobbyist refining your cutting machine skills, understanding how to effectively process Pinwheel designs across various formats is essential. This guide moves beyond simple assembly instructions to explore how these digital assets fit into a broader creative and professional workflow, ensuring compatibility with major platforms like Cricut Design Space, Silhouette Studio, and Brother Scan-N-Cut.
Understanding File Formats and Strategic Selection
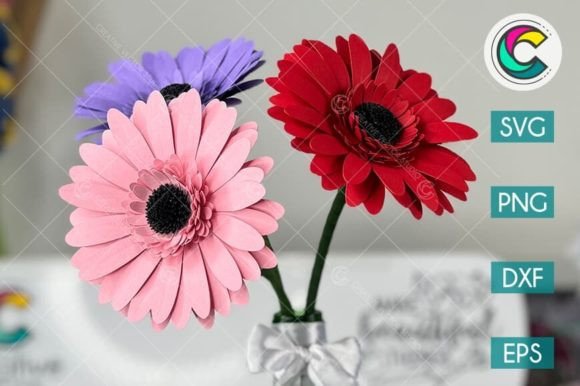
Before a single blade touches material, the success of your project hinges on selecting the correct file format from your download package. Most comprehensive design bundles include SVG, DXF, PDF, and sometimes PNG files. Each serves a distinct purpose within your production pipeline.
The SVG (Scalable Vector Graphics) file is generally the gold standard for modern crafters using Cricut machines. It retains vector data, allowing you to resize the pinwheel without losing quality, and often comes with pre-separated layers for different colors or materials. For users of Silhouette Studio, particularly those on the basic free version, the DXF (Drawing Exchange Format) is frequently the required input. While SVGs offer smoother curves, DXFs ensure universal compatibility across older software versions and different hardware ecosystems.
The PDF file plays a critical role in the planning phase. It is ideal for printing templates directly onto cardstock if you are not using a cutting machine, or for creating physical mock-ups to test scale before committing expensive materials to the cutter. By integrating these formats strategically, you create a flexible workflow that adapts to the specific tools available at any given moment.
Pre-Production: Organization and Compatibility Checks
Efficiency in crafting begins with organization. When you download a complex bundle containing multiple variations of a pinwheel design, the immediate temptation is to open the first file you see. However, a professional approach requires a brief audit of the folder structure. Specifically, for Cricut users, it is imperative to open the SVG_Cricut folder and read the notes contained in it.
These notes often contain vital information regarding layer ordering, recommended material settings, and specific assembly sequences that are not immediately obvious from the visual design alone. Ignoring this step can lead to frustration, such as cutting layers in the wrong order or missing crucial alignment marks. This practice of reading documentation mirrors professional project management, where understanding the specifications before execution prevents costly rework.
Compatibility checks should also extend to your software settings. In Silhouette Studio, ensure that your "Cut Mode" is correctly mapped to the DXF lines, as some files may group elements differently than expected. In Cricut Design Space, verify that the "Attach" or "Weld" functions are applied where necessary to maintain the structural integrity of the pinwheel blades during the cutting process. Taking five minutes to configure these settings saves significant time during the actual cutting phase.
Execution: Integrating Tools and Materials
Once the digital files are prepared, the workflow shifts to physical execution. The pinwheel design is an excellent candidate for testing material consistency. Because the design involves multiple identical blades radiating from a center point, any inconsistency in cut depth or material grain becomes immediately apparent.
For those using a Cricut, the layered nature of SVG files allows for multi-material projects. You might choose to cut the blades from patterned cardstock while using a glitter vinyl for the center cap. The workflow here involves loading the mat, selecting the appropriate material profile in Design Space, and executing the cut. Pay close attention to the weeding process; intricate pinwheel centers can be delicate, requiring sharp tweezers and a steady hand.
Silhouette users often benefit from the "Print then Cut" feature if their design includes printed patterns rather than solid colors. This method combines the precision of inkjet printing with the accuracy of the cutting blade. Ensure your registration marks are clear and unobstructed, as the scanner relies on these to align the cut path with the printed graphic. Similarly, Scan-N-Cut users can leverage the machine's scanning capability to cut around printed pinwheels without needing registration marks, offering a unique advantage for one-off customizations or using up scrap paper with existing prints.
Assembly and Quality Control
The assembly phase is where the digital plan becomes a tangible object. A well-organized workflow includes a dedicated station for assembly, equipped with adhesives, dowels, and beads. Consistency is key here, especially if you are producing these in bulk for a business or event. Establish a rhythm: apply adhesive to the center, stack the blades in the correct rotational order, secure with a bead or brad, and attach to the dowel.
Quality control should happen at two stages. First, inspect the cut pieces before assembly. Look for uncut corners or torn edges, which indicate dull blades or incorrect pressure settings. Second, perform a functional test on the assembled pinwheel. Does it spin freely? Is it balanced? If the pinwheel wobbles or sticks, it may indicate an asymmetry in the cutting or an issue with the axle friction. Addressing these issues early ensures that the final product meets professional standards.
Scaling the Workflow for Business and Education
Integrating pinwheel projects into a business or educational setting requires thinking about scalability. For entrepreneurs, the ability to rapidly switch between SVG and DXF formats means you can fulfill orders regardless of the specific equipment a client might use if you are selling digital files, or you can optimize your own production line based on machine availability.
Educators can use the pinwheel as a teaching tool for geometry and engineering principles. The process of unfolding the 2D vector shape into a 3D moving object demonstrates spatial reasoning. By preparing kits in advance using the PDF templates for students to color and the SVG/DXF files for the teacher to cut, you create a hybrid learning activity that balances creativity with technical precision.
Furthermore, maintaining a library of tested settings for specific pinwheel designs enhances long-term efficiency. Document the blade depth, speed, and pressure that worked best for heavy cardstock versus lightweight paper. This institutional knowledge reduces setup time for future projects and ensures consistent quality across different batches.
Long-Term Maintenance and Iteration
A sustainable crafting workflow involves continuous improvement. After completing a pinwheel project, take a moment to reflect on the process. Were there bottlenecks in the file preparation? Did the assembly take longer than anticipated? Use these observations to refine your approach for the next project.
Keep your digital assets organized by archiving successful projects with their corresponding notes and settings files. This creates a personal knowledge base that accelerates future work. Additionally, stay updated on software changes for Cricut Design Space, Silhouette Studio, and Scan-N-Cut, as updates often introduce new features that can streamline the handling of SVG and DXF files.
Ultimately, the pinwheel is a versatile project that bridges the gap between simple fun and complex workflow management. By respecting the nuances of file formats, adhering to preparation protocols like reading included notes, and maintaining a focus on quality control, you transform a simple cut file into a polished, professional result. Whether for personal enjoyment, classroom engagement, or commercial sale, mastering this process empowers you to execute creative ideas with confidence and precision.